Posts


This project is as easy as do re mi! I have amassed a lot of fabric recently and with so many pregnant friends I decided to create some big, soft blocks for the future babies to play with. For this project you will need:
- Three 12x12" squares of fabric ( I used two cotton prints and one fleece)
- Ruler
- Scissors
- Sewing Machine
- Polyester Doll Stuffing
- Bells
1) Cut four 4x4" squares of cotton fabric and two 4x4" squares of yellow fleece for the top and bottom of the block or 6 squares if using only one fabric.

2) Start assembling the 4 walls of the block by sewing two squares together (right sides together). After sewing, you should have two sets of squares ( they will look like rectangles now). Press the middle seam down with a hot iron to flatten the seams.

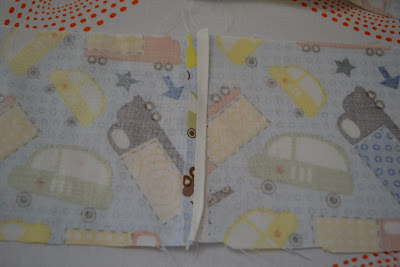
3) Continue sewing right sides together until you have connected the four cotton squares to form the four walls.

4) Keep the wall's right sides facing inward. Attach the bottom square to the 4 walls sewing one side at a time (right sides together). Make sure to keep the bottom's corners on the wrong side so when you flip it the finished corners are soft and seamless.

5) Add the top of the block following the directions in step 4; leave two inches (or three fingers wide) open on one side so you can turn the block inside out and add the stuffing.
6) Turn the block right side out. Stuff the block with polyester doll stuffing. Push stuffing into the block's corners to fill them out. Add a bell or two to allow the finished block to serve as a soft rattle.

This project is easy as 1-2-3; once you finish the first block it is easy to replicate the process in different sizes and fabrics. To the yellow all-fleece block in the middle, I added the letters A-D to the 4 sides and 1 and 2 to the top and bottom. I did cheat a little by hot gluing the letters and numbers to the block sides as I could not find a sharp enough needle to easily pierce the fleece for hand tacking and I'm lazy. These soft, squishy rattle blocks are a fun new way to supplement baby shower gifts and its far faster than knitting.
Get Crafting!
- Three 12x12" squares of fabric ( I used two cotton prints and one fleece)
- Ruler
- Scissors
- Sewing Machine
- Polyester Doll Stuffing
- Bells
1) Cut four 4x4" squares of cotton fabric and two 4x4" squares of yellow fleece for the top and bottom of the block or 6 squares if using only one fabric.

2) Start assembling the 4 walls of the block by sewing two squares together (right sides together). After sewing, you should have two sets of squares ( they will look like rectangles now). Press the middle seam down with a hot iron to flatten the seams.
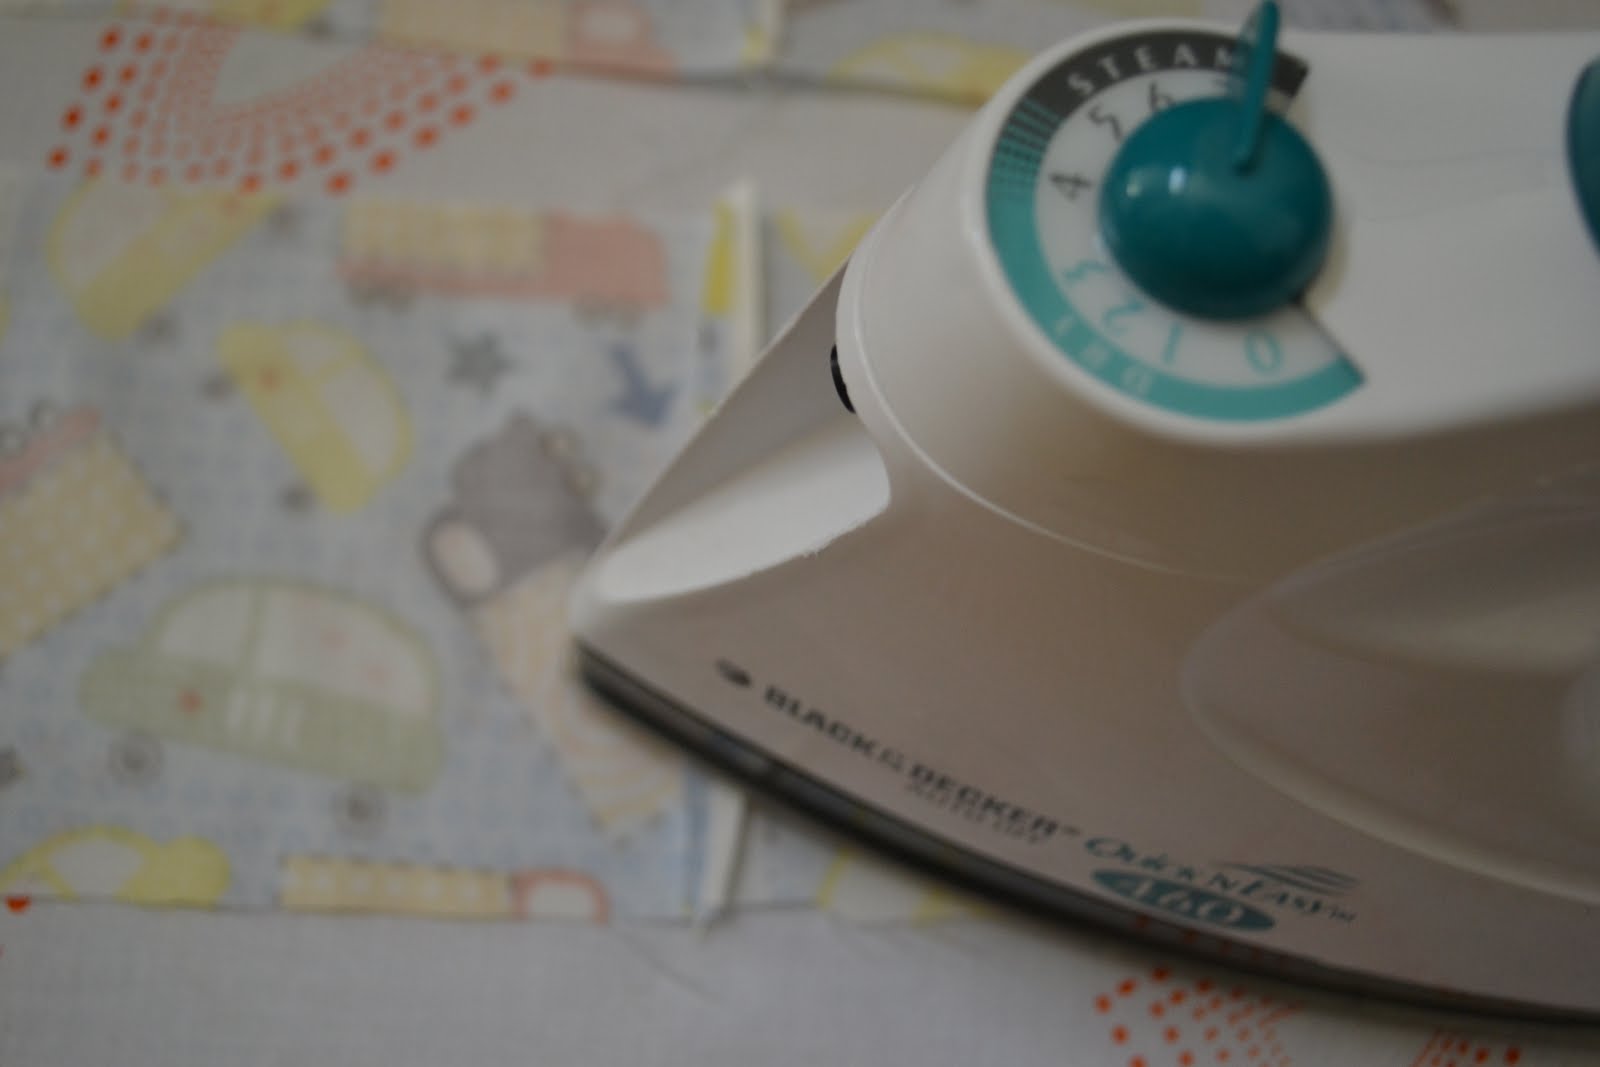

3) Continue sewing right sides together until you have connected the four cotton squares to form the four walls.

4) Keep the wall's right sides facing inward. Attach the bottom square to the 4 walls sewing one side at a time (right sides together). Make sure to keep the bottom's corners on the wrong side so when you flip it the finished corners are soft and seamless.

5) Add the top of the block following the directions in step 4; leave two inches (or three fingers wide) open on one side so you can turn the block inside out and add the stuffing.
 |
7) Along the open seam, hand sew the block shut to finish the block.

This project is easy as 1-2-3; once you finish the first block it is easy to replicate the process in different sizes and fabrics. To the yellow all-fleece block in the middle, I added the letters A-D to the 4 sides and 1 and 2 to the top and bottom. I did cheat a little by hot gluing the letters and numbers to the block sides as I could not find a sharp enough needle to easily pierce the fleece for hand tacking and I'm lazy. These soft, squishy rattle blocks are a fun new way to supplement baby shower gifts and its far faster than knitting.
Get Crafting!